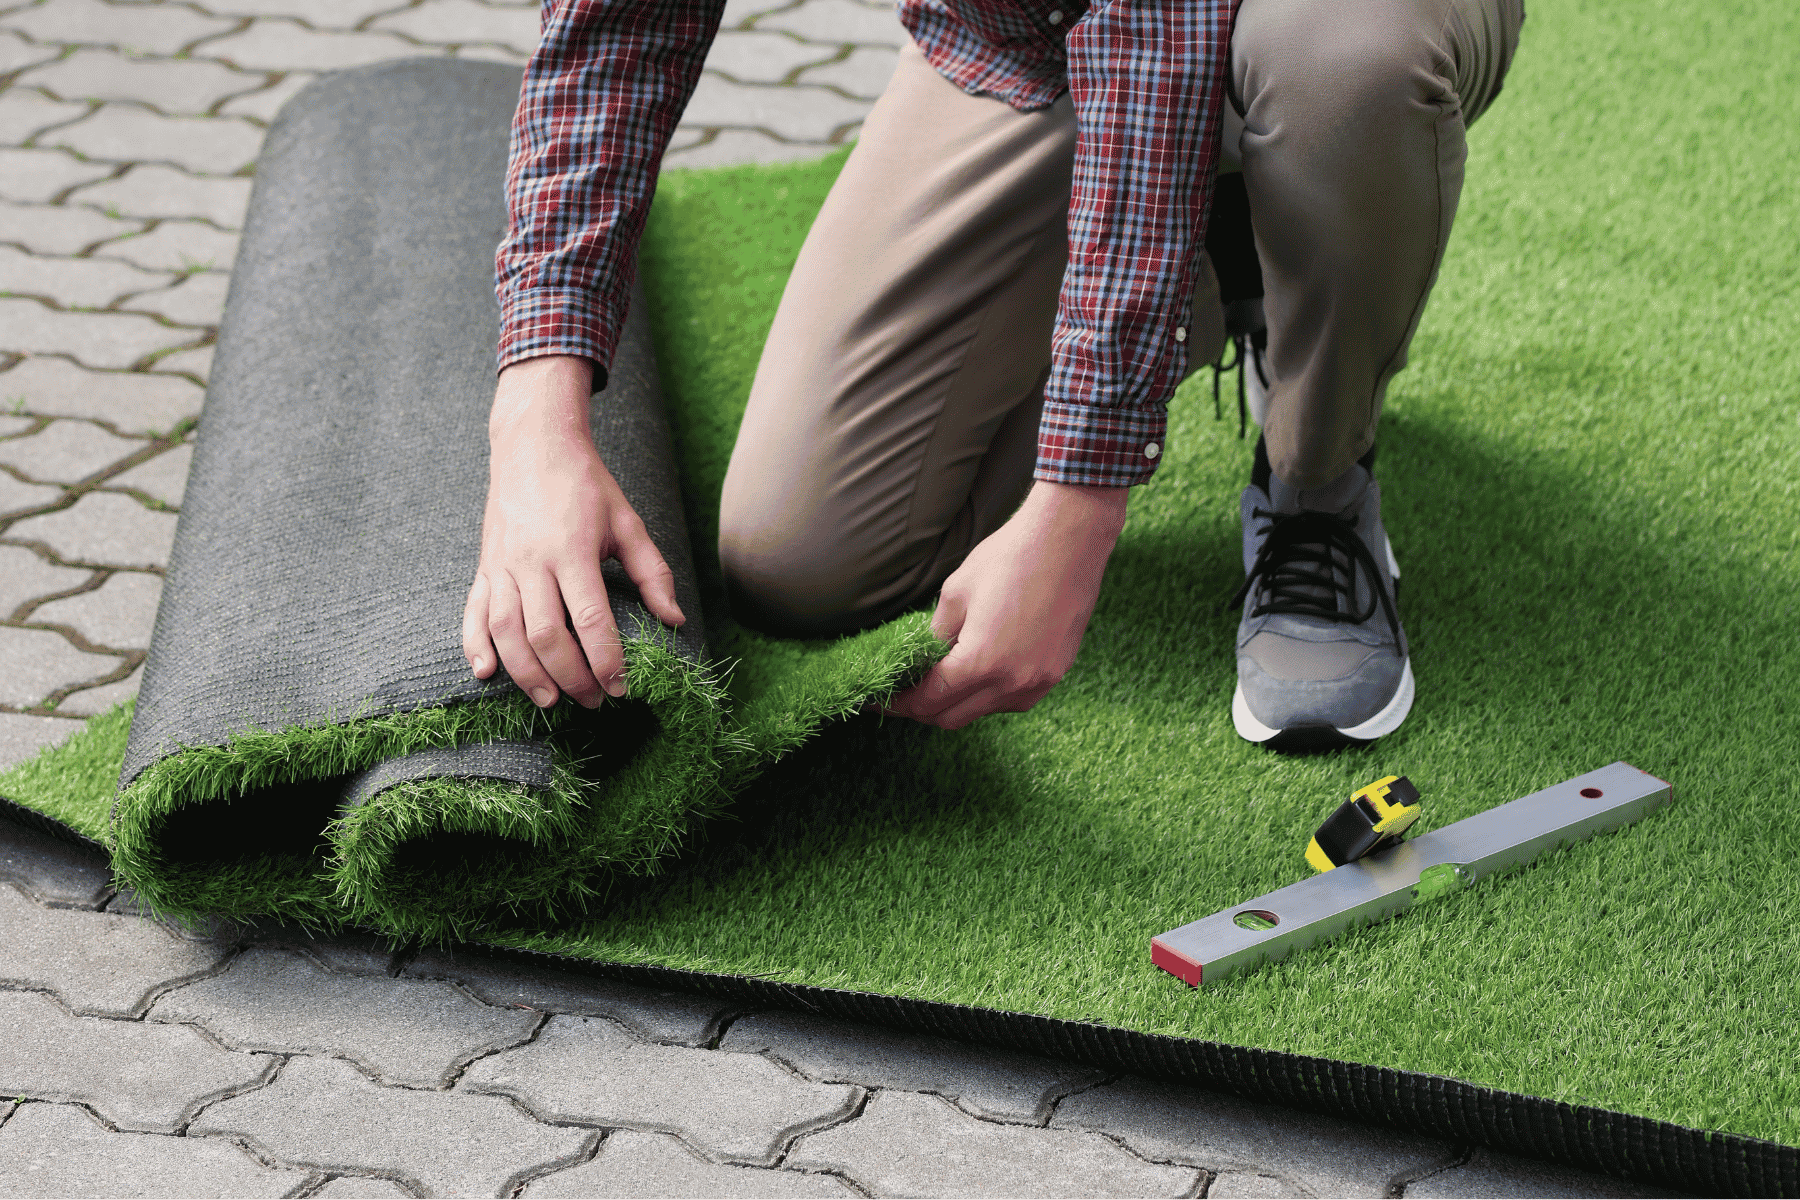
To install synthetic grass in Sydney, you need to prepare the ground by removing existing vegetation, compacting a crushed rock base, laying a weed barrier, rolling out and securing the turf, joining any seams, and finishing with a power brush. The full process typically takes 1 to 3 days, depending on the area size and site complexity.
Knowing how to install synthetic grass in Sydney correctly makes the difference between a surface that lasts a decade and one that fails within a few years. Proper site preparation, quality materials, and attention to drainage all play critical roles in achieving high-performing results.
Many Sydney homeowners, property managers, and commercial operators now choose artificial turf for its durability and low maintenance, making it one of the fastest-growing landscaping solutions across the city.
How to Install Synthetic Grass in Sydney
Installing synthetic grass involves several carefully sequenced stages, each building on the last to create a stable, attractive, and long-lasting surface. Rushing any stage or skipping steps compromises the final result.
Here is an overview of the complete installation process:
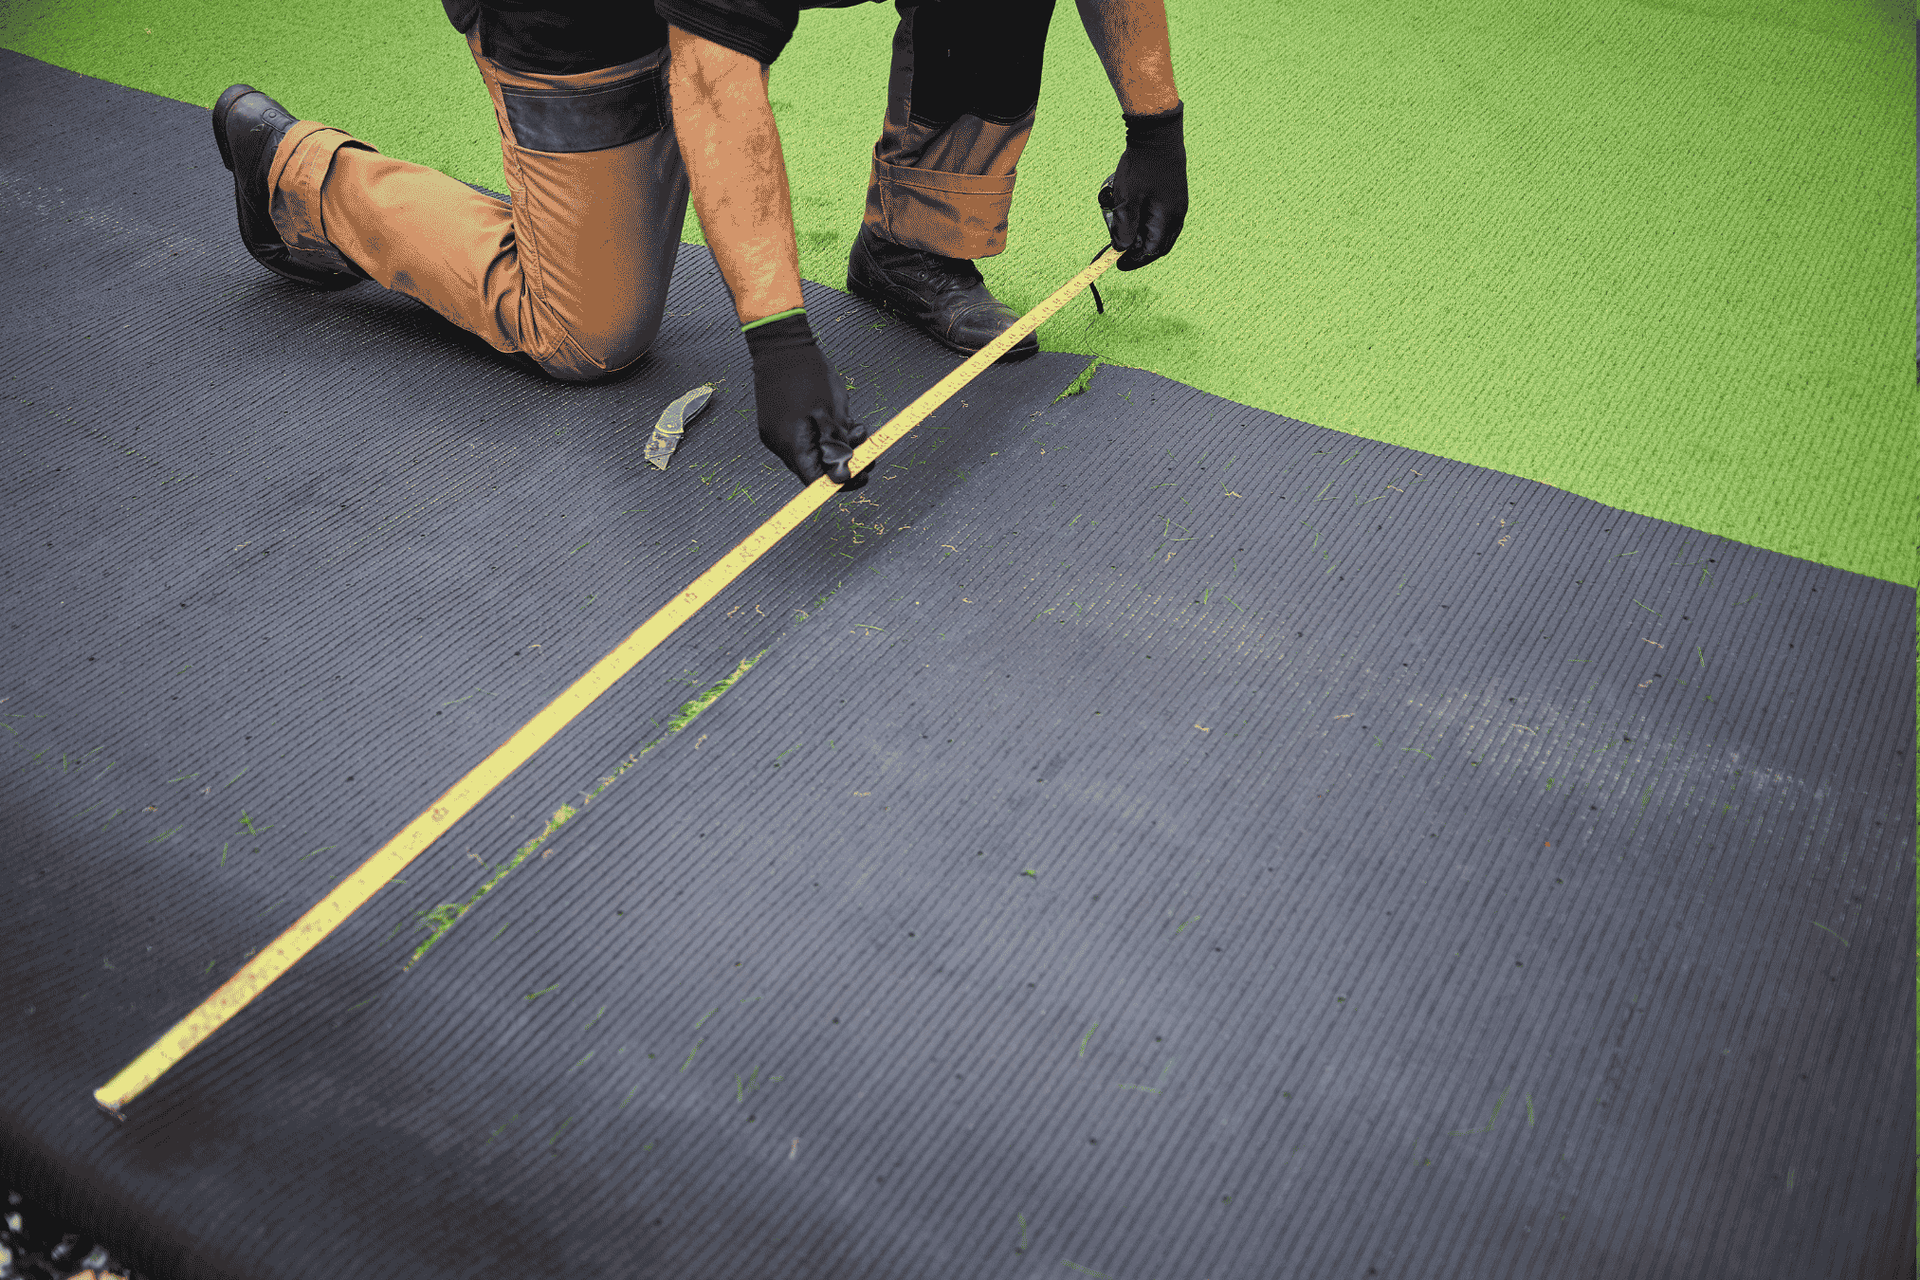
- Measure and assess the installation area
- Remove existing grass and debris
- Prepare and level the base
- Install drainage materials if required
- Lay and secure synthetic grass
- Join seams and trim edges
- Brush and finish the surface
Every stage contributes directly to how the finished turf looks, performs, and holds up over time. Accurate measurements reduce material waste. Thorough removal of existing vegetation eliminates the risk of organic matter decomposing beneath the surface.
A level, compacted base prevents sagging and uneven wear. Proper drainage design keeps the surface usable after Sydney’s seasonal downpours. Careful seam joining and edge trimming create a clean, professional finish, and a thorough final brushing lifts the grass fibres to achieve a natural appearance.
For a detailed overview of what the process involves from start to finish, visit our guide on
what Is synthetic grass installation in Sydney and how does it work?
Essential Tools and Materials Required for a Successful Installation
Gathering the right tools and materials before starting saves time, prevents costly delays, and ensures the finished surface meets a professional standard. Using inferior materials to reduce upfront costs often leads to premature failure and expensive repairs.
The key tools and materials you will need include:
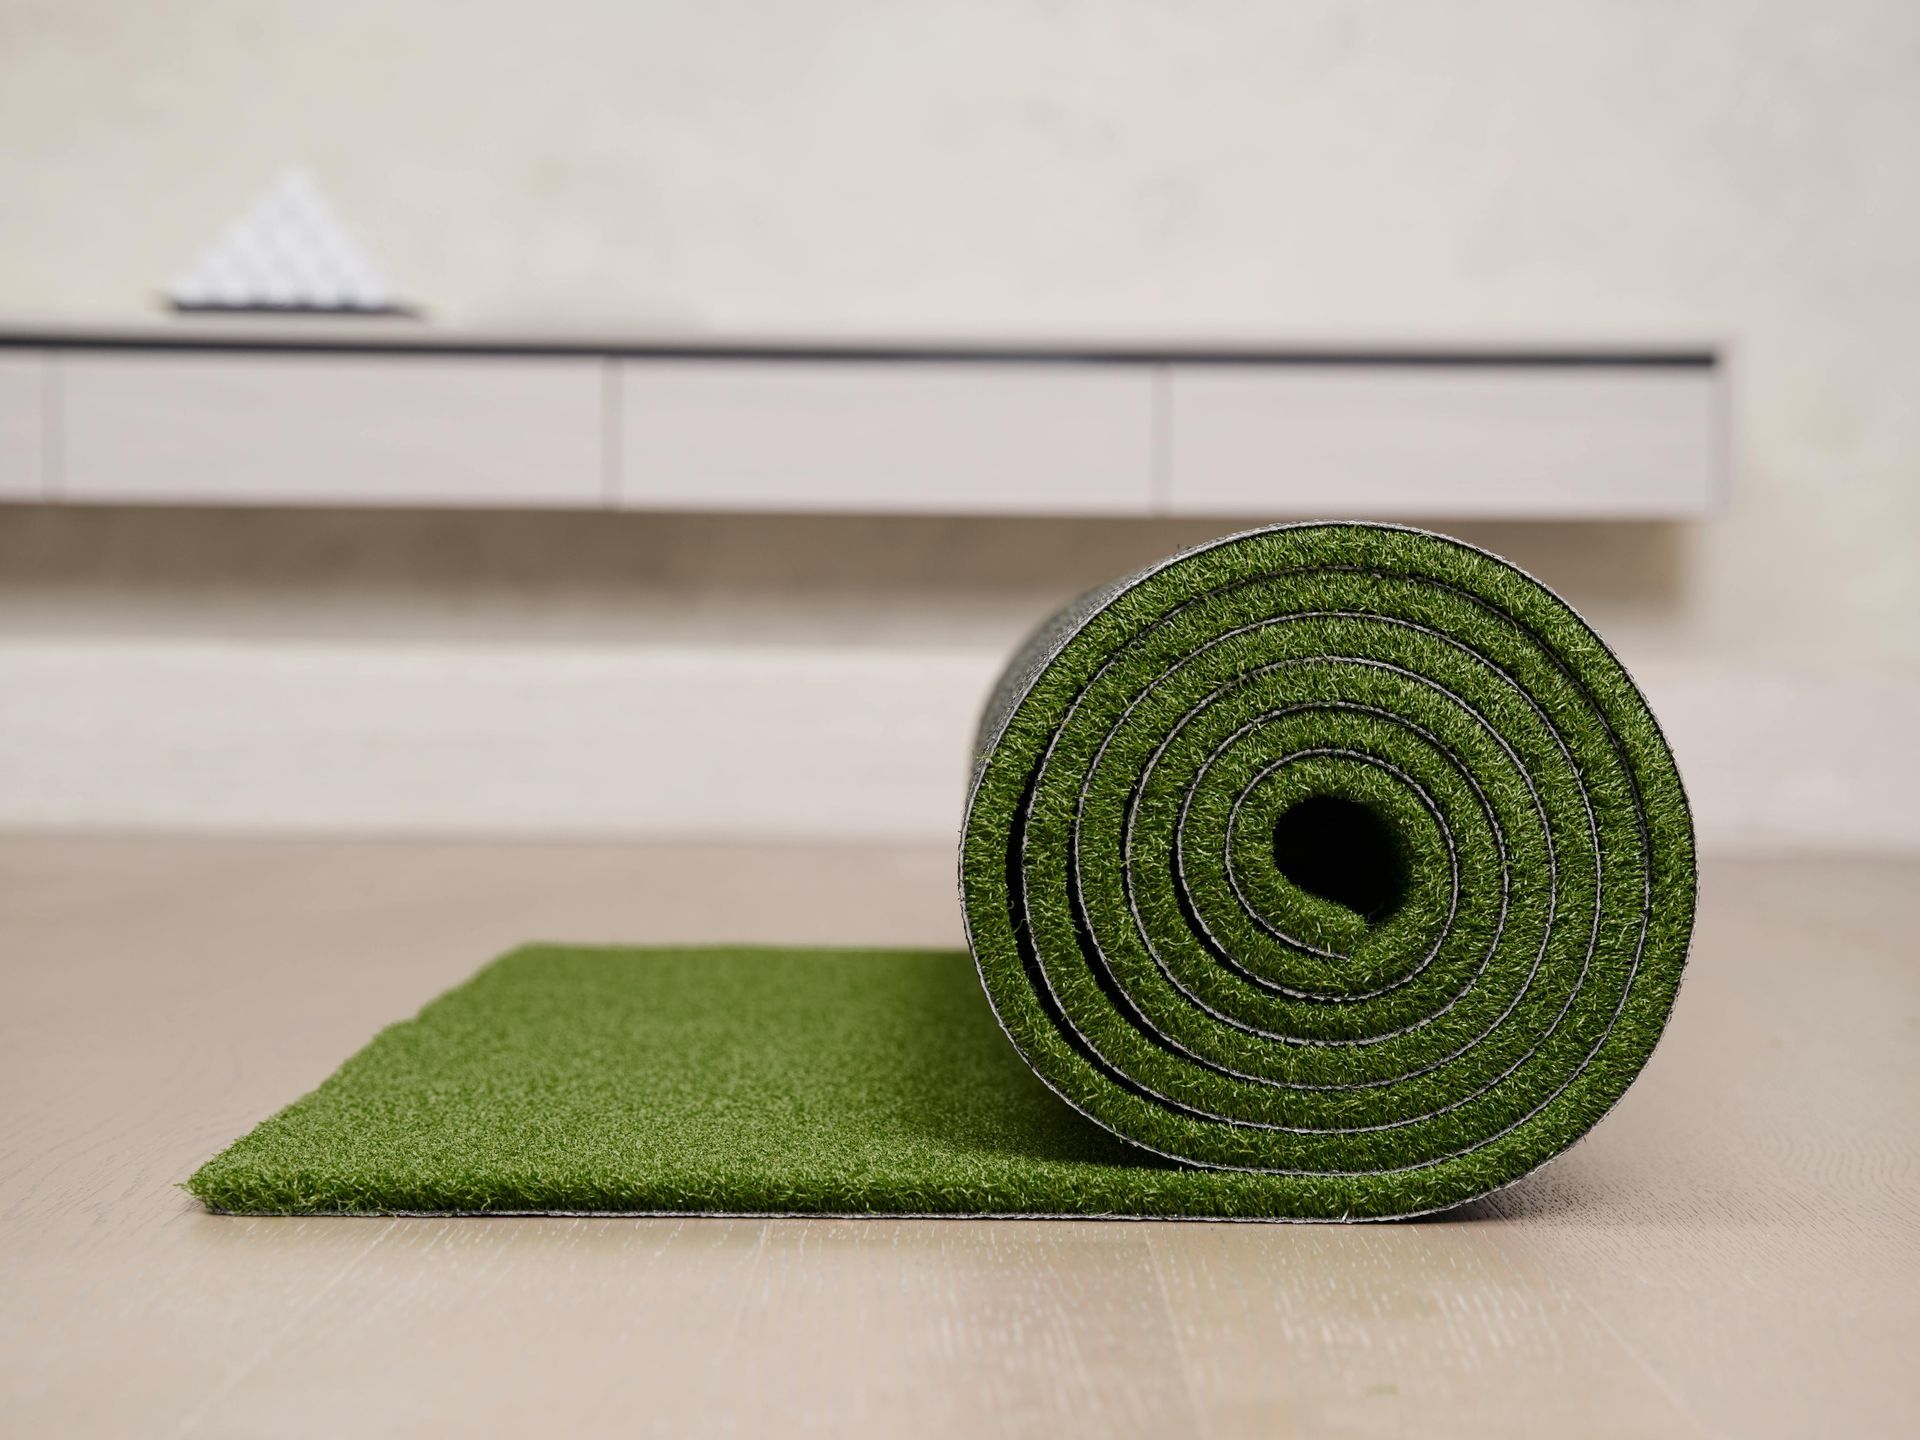
- Synthetic grass rolls
- Crushed rock or road base
- Weed barrier membrane
- Joining tape and adhesive
- Utility knife
- Compactor or plate compactor
- Landscape rake
- Turf nails or fixing pins
- Power broom or stiff brush
Quality materials deliver measurably better outcomes. A high-grade weed barrier membrane, for example, actively blocks root penetration without restricting water flow, whereas a cheaper alternative may degrade within 2 to 3 years.
Professional-grade adhesive creates stronger seam bonds that resist heat expansion during Sydney summers. A plate compactor achieves the uniform base density that hand-tamping cannot.
Cutting corners on materials is one of the most common ways homeowners reduce the lifespan of their turf. Investing in professional-grade products from the outset directly extends the performance and visual appeal of your installation for many years.
Preparing the Ground for Long-Lasting Artificial Turf Performance
Ground preparation stands as the single most important phase of any synthetic grass installation. Professionals consistently point to inadequate preparation as the leading cause of turf failure, uneven surfaces, and poor drainage after installation.
Follow these steps to prepare the ground correctly:
- Remove natural grass and vegetation
- Excavate to the required depth (typically 75 to 100mm)
- Install a weed barrier membrane over the excavated area
- Add and compact the base material in layers
- Ensure proper drainage and grading across the surface
- Create a smooth and level finish before laying the turf
Each step protects the investment you make in the turf itself. Removing vegetation eliminates decomposition beneath the surface, which can cause the base to shift or sink over time. Excavating to the correct depth creates room for adequate base material, which supports both drainage and load-bearing performance.
Installing a weed barrier prevents regrowth from pushing through the turf later. Compacting the base in layers builds a stable, even platform that resists movement under foot traffic.
Grading the surface so it slopes slightly away from structures or towards drainage points prevents water pooling after rain, which is particularly important given Sydney’s year-round rainfall variability. A well-prepared base protects the turf from below, reducing maintenance requirements and extending the surface life significantly.
The
Australian government's YourHome resource offers practical guidance on sustainable landscaping and site drainage principles, while
Standards Australia provides construction and drainage standards relevant to outdoor surface installations.
Common Installation Mistakes and How to Avoid Them
Installation errors cause more turf failures than product defects. Understanding the most frequent mistakes helps you avoid them, whether you plan to install the turf yourself or engage a contractor.
The most common installation mistakes include:
- Inadequate ground preparation
- Poor drainage planning
- Incorrect seam joining
- Uneven compaction of the base
- Choosing unsuitable turf products for the intended use
- Failing to secure edges properly
Inadequate ground preparation allows the base to shift and settle unevenly, which creates visible lumps, low spots, and drainage problems. Poor drainage planning leads to surface water pooling, which accelerates wear, promotes odour, and makes the area unusable after rain. Incorrect seam joining leaves visible lines across the surface, and joins that lift or separate over time create trip hazards.
Uneven base compaction results in surface dips and ridges under regular use. Choosing an unsuitable turf product, such as a low-pile residential product for a high-traffic commercial space, leads to rapid fibre flattening.
Failing to secure edges allows the turf to lift, fray, and shift.
Prevention costs significantly less than repair. Addressing each of these points during the planning and installation phase eliminates the need for costly remediation work down the track.
Professional vs DIY Synthetic Grass Installation: What to Consider
Choosing between professional and DIY installation depends on the size of the project, your access to tools, your experience with landscaping, and your expectations for the finished result.
Professional Installation Advantages:
- Expert site preparation using professional-grade equipment
- Accurate measurements and precise cutting to minimise waste
- Proper drainage solutions designed for the specific site
- High-quality workmanship and consistent finishes
- Faster project completion with less disruption
- Installation warranties that protect your investment
DIY Considerations:
- Lower upfront costs, where you already own the necessary tools
- Requires hiring or purchasing a compactor, power broom, and cutting equipment
- Demands a greater time commitment, typically several weekends for a medium-sized area
- Carries a higher risk of installation mistakes that reduce turf lifespan
For small residential projects under 20 square metres with relatively flat, accessible ground, an experienced DIY renovator can achieve a satisfactory result with careful preparation.
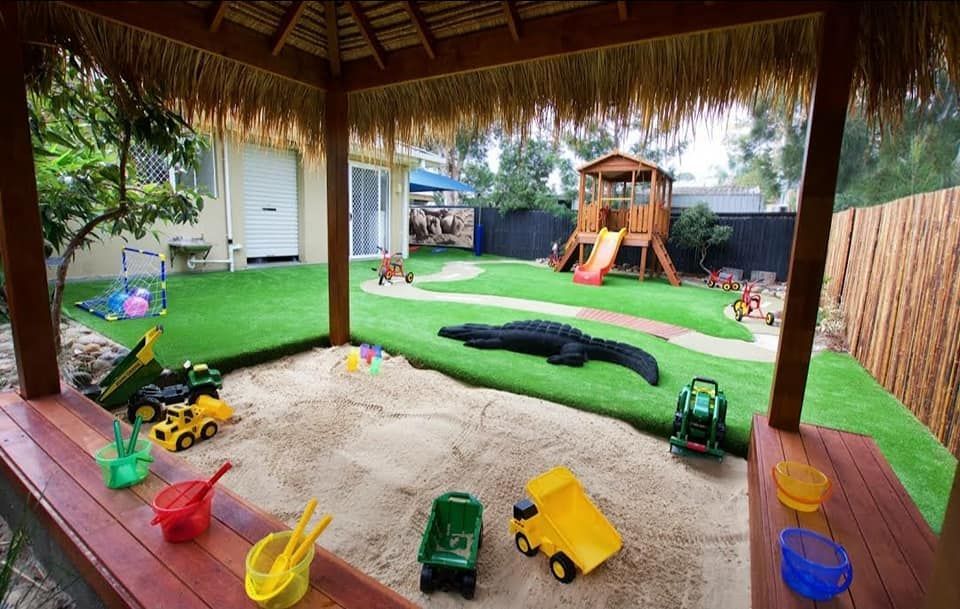
For larger residential projects, commercial properties, schools, childcare centres, and high-traffic outdoor areas, professional installation consistently delivers stronger, more durable, and more reliable outcomes.
Complex sites with irregular shapes, steep slopes, drainage challenges, or hard-surface substrates particularly benefit from expert handling. Our
residential artificial grass installation in
Sydney and
commercial artificial grass installation in Sydney pages detail what professional installation covers for each project type.
Explore the full
urban turf solutions range to find products suited to your specific application.
DIY vs Professional Synthetic Grass Installation
Initial Cost
- DIY: Lower upfront, but tool hire adds cost
- Professional: Higher upfront, includes labour and equipment
Equipment Requirements
- DIY: Must hire or own compactor, power broom, and cutting tools
- Professional: All equipment supplied by the installer
Installation Time
- DIY: Several days to weeks, depending on experience
- Professional: Typically one to three days
Drainage Design
- DIY: Risk of incorrect grading without experience
- Professional: Site-specific drainage solution included
Finish Quality
- DIY: Variable, dependent on skill and preparation
- Professional: Consistent, professional-grade finish
Durability
- DIY: Reduced if the preparation or materials fall short
- Professional: Maximised with proper preparation and products
Warranty Coverage
- DIY: No installation warranty on DIY work
- Professional: An installation warranty is typically included
Long-Term Value
- DIY: Higher risk of remediation costs
- Professional: Lower total cost of ownership over time
Why Proper Drainage Matters for Synthetic Grass Installation in Sydney
Sydney receives around 1,200mm of rainfall annually, and the city experiences intense, short-duration storms during summer and autumn. Drainage design is not optional for synthetic grass installations in this climate; it directly determines whether the surface remains safe, functional, and attractive year-round.
A properly designed drainage system delivers these key benefits:
- Prevents water pooling on the surface after rain events
- Reduces surface movement caused by water saturation of the base
- Protects the base layer from erosion and displacement
- Improves usability, allowing access to the area shortly after rain
- Supports long-term turf performance by maintaining base integrity
Poor drainage affects safety by creating slippery standing water. It accelerates wear by causing the base to shift and compact unevenly under wet conditions. It increases maintenance requirements by encouraging the growth of algae and mould on a perpetually wet surface.
A well-constructed base with a permeable crushed rock layer, an appropriate fall direction, and a high-quality drainage membrane effectively manages surface water. On concrete or paved substrates, additional drainage solutions may include perforated backing systems or perimeter channel drains.
The
NSW Government's water and drainage resources offer useful context on surface water management for residential and commercial properties.
Installing Synthetic Grass in Sydney the Right Way
Installing synthetic grass correctly requires careful planning, proper ground preparation, quality materials, and attention to drainage from start to finish. Each stage of the installation builds on the last, and skipping or rushing any part of the process creates problems that become increasingly expensive to fix over time.
Quality materials improve the visual result and extend turf lifespan. Good drainage design protects the base and keeps the surface usable year-round. Professional installation reduces risk, delivers consistent results, and typically offers greater long-term value than a DIY approach for medium- to large-scale projects.
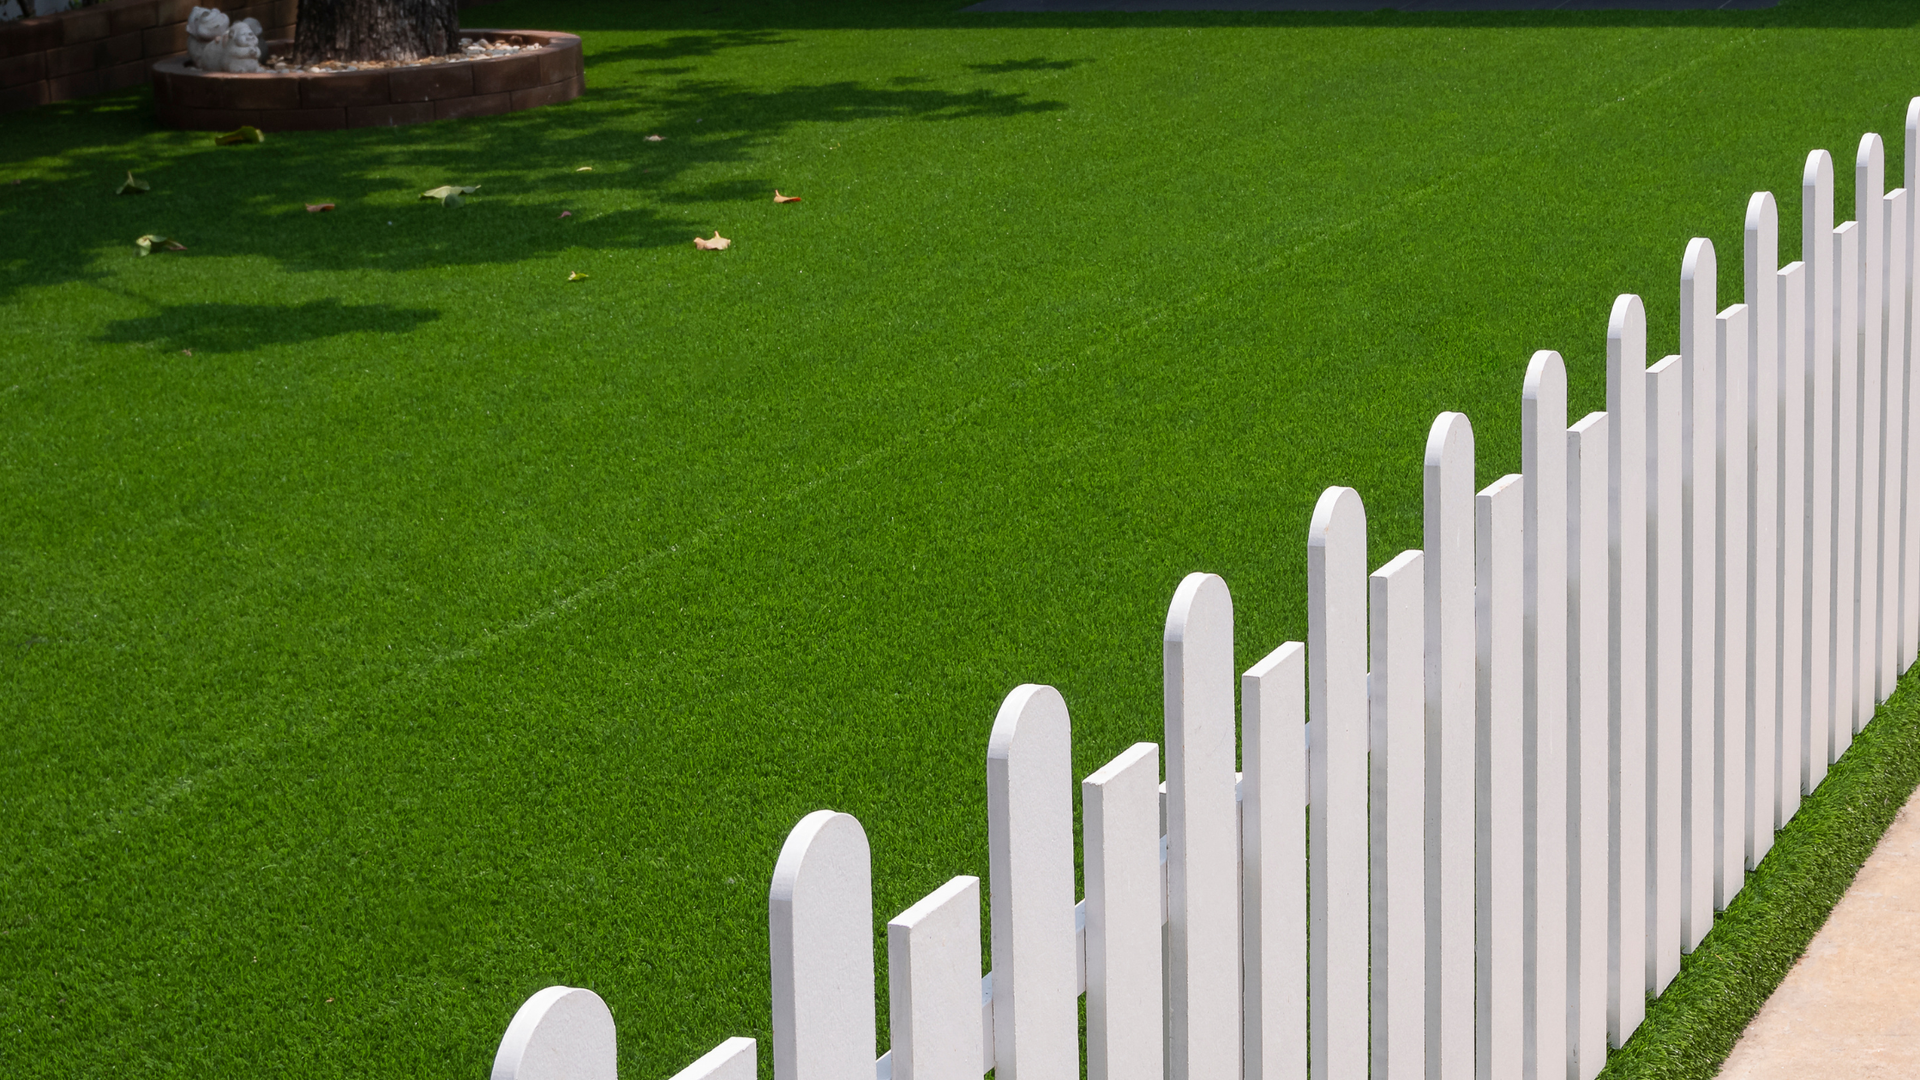
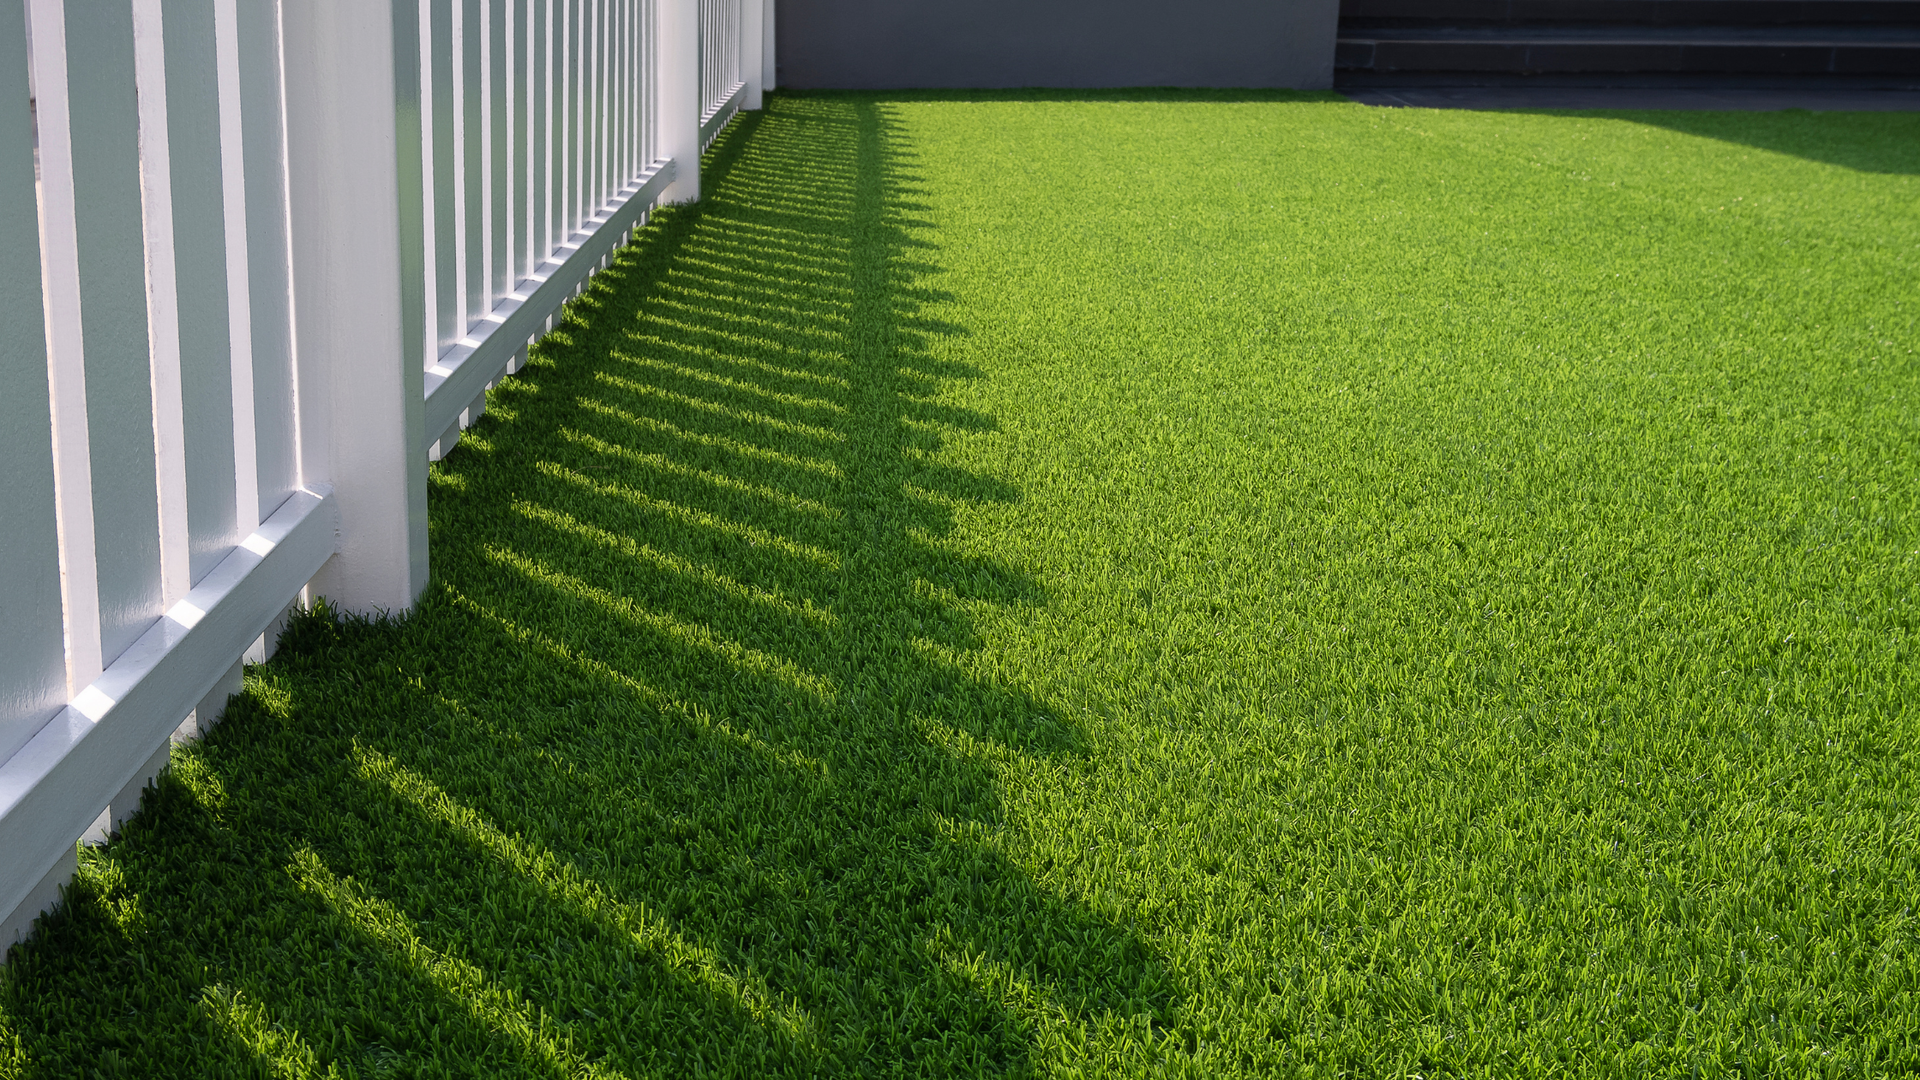
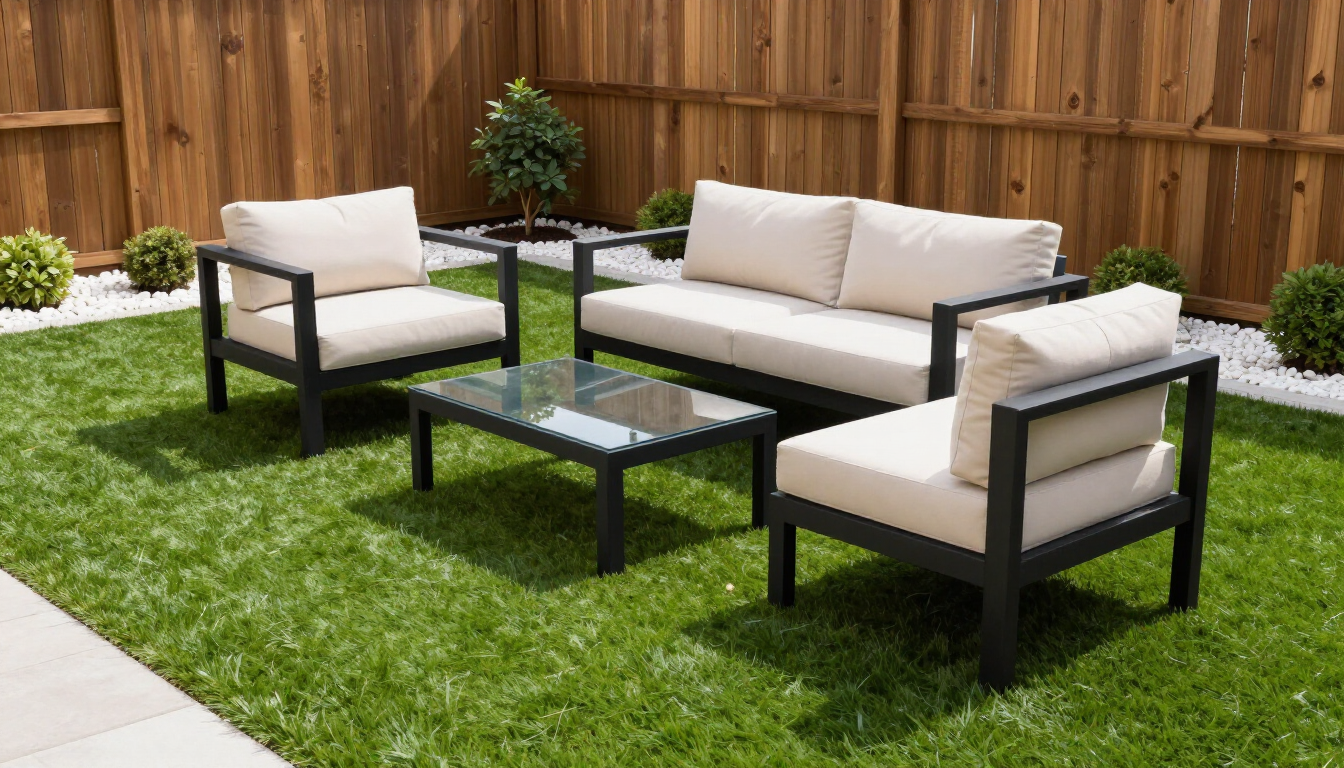
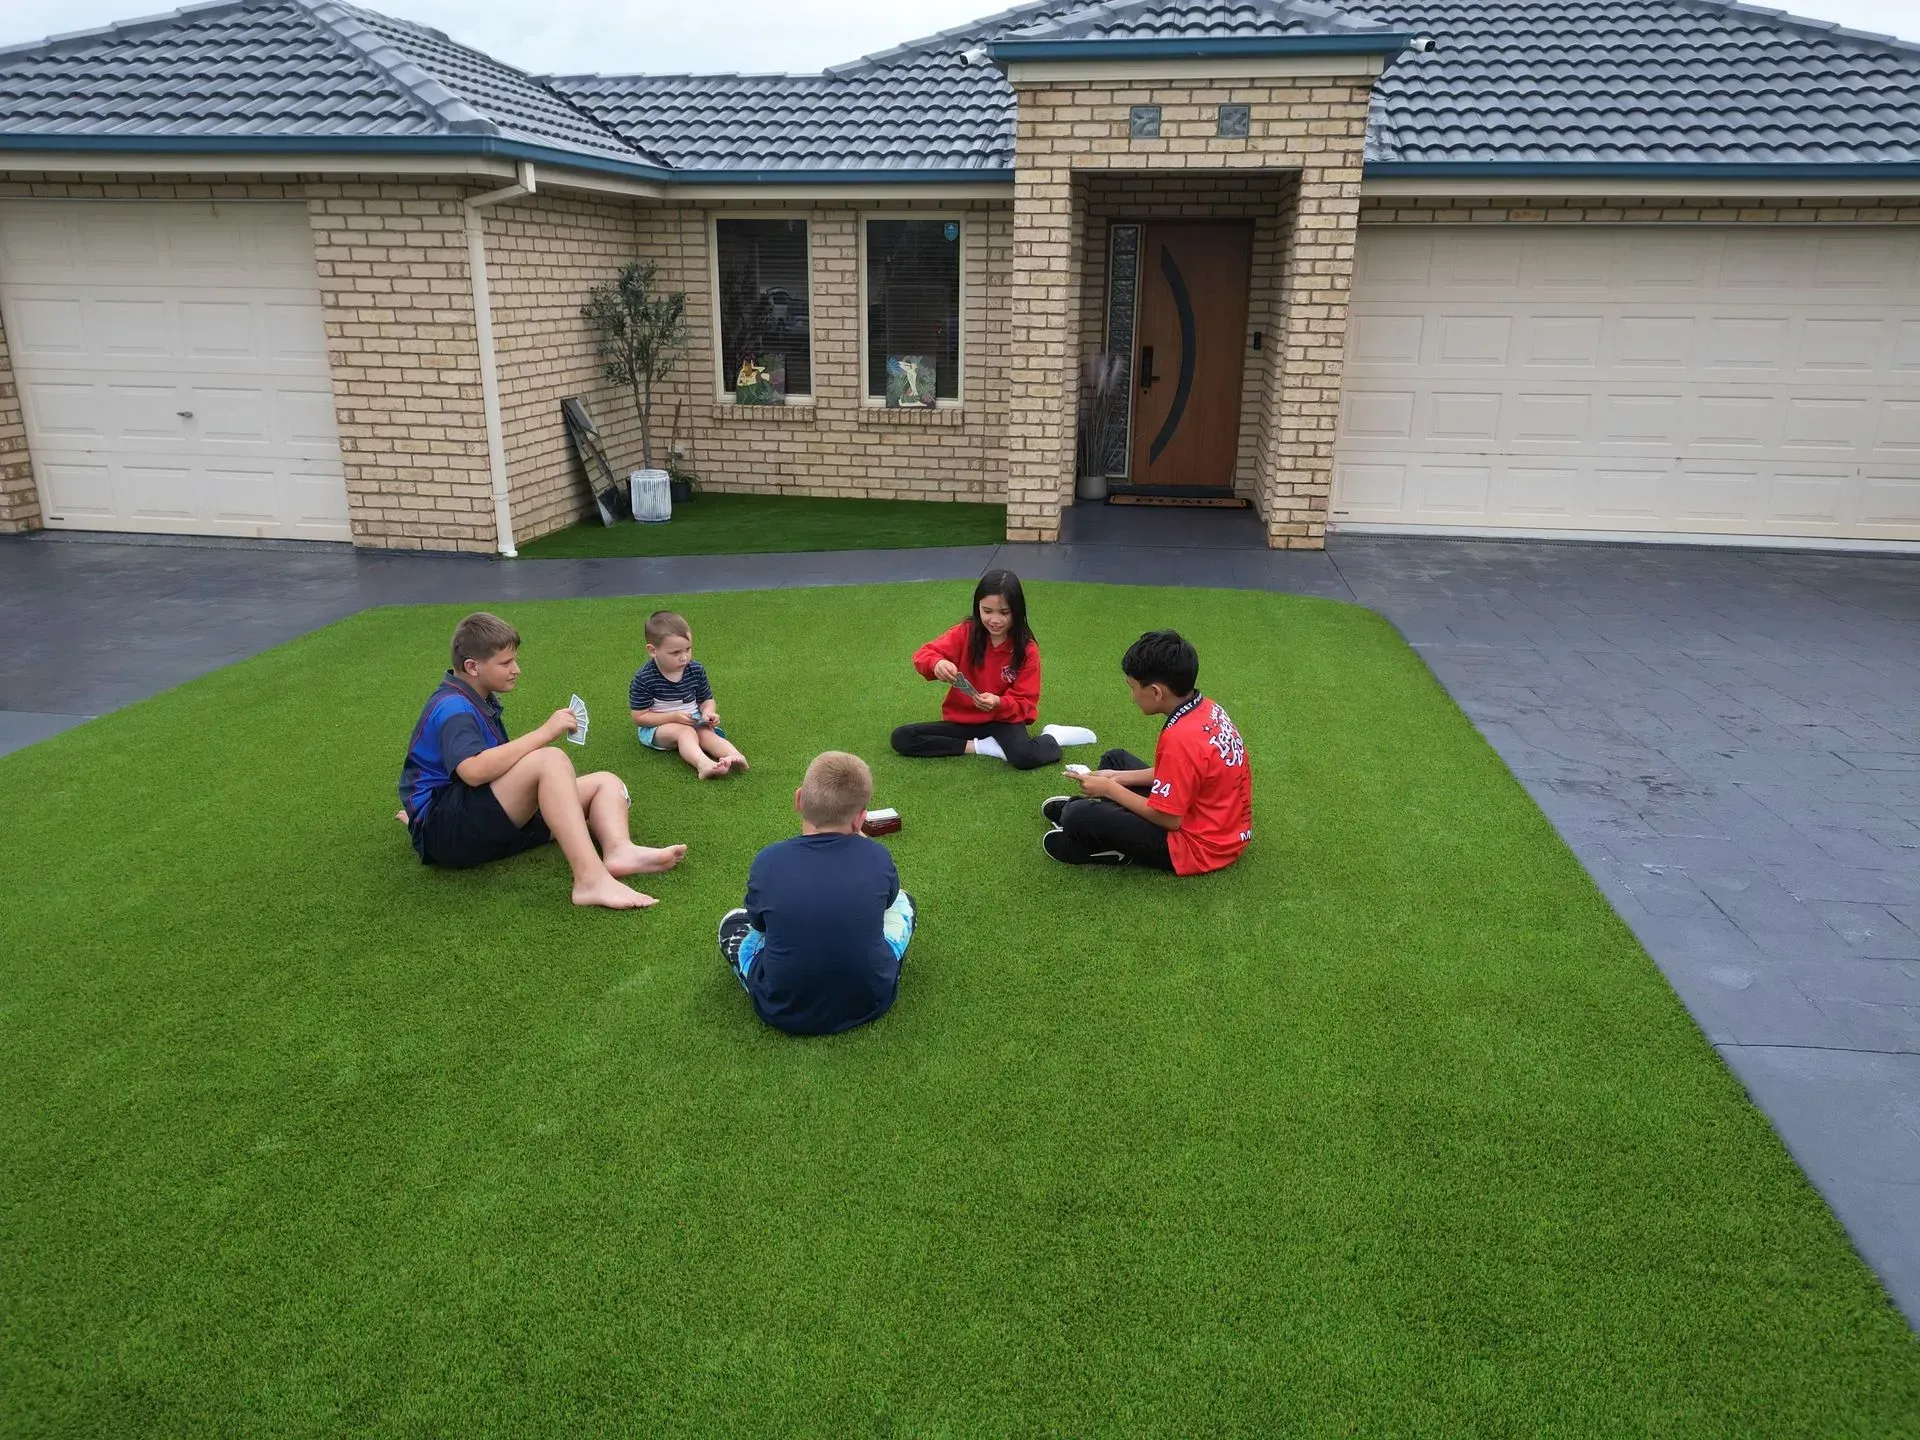
Artificial turf delivers a low-maintenance, high-performing outdoor surface that suits residential gardens, commercial landscapes, schools, and recreational areas across Sydney. The key to getting the most from your investment lies in getting the installation right the first time.
Ready to Get Started?
Ready to transform your outdoor space? Explore our full
synthetic grass installation
solutions in Sydney, compare
residential and
commercial installation options, and contact our experienced team today to discuss your project.
Landscape Australia also connects property owners with accredited landscaping professionals if you need independent specialist advice. Do not start your installation without first getting the right guidance. Reach out now and let us help you get it right from day one.
Frequently Asked Questions
What materials are needed for synthetic grass installation?
A successful synthetic grass installation requires turf rolls, crushed rock or road base, a weed barrier membrane, joining tape and adhesive, turf nails or fixing pins, and a finishing infill such as sand or rubber crumb, depending on the product type. You will also need a plate compactor to achieve proper base density, a utility knife for cutting, a landscape rake for base levelling, and a power broom to lift the fibres after installation. Using professional-grade versions of each material yields a more durable, longer-lasting result.
How should the ground be prepared before laying synthetic grass?
Ground preparation involves removing all existing vegetation, excavating the area to a depth of 75 to 100mm, installing a weed barrier membrane, adding and compacting crushed rock base material in layers, and grading the surface to direct water away from structures or towards drainage points. Thorough compaction at each layer prevents the base from settling unevenly after installation. Proper grading ensures rainfall drains efficiently rather than pooling on the surface. This preparation phase has the greatest influence on the durability and performance of the finished installation.
Can synthetic grass be installed on soil, concrete, or paving?
Yes, professionals can install synthetic grass on soil, concrete, and paving, but each substrate requires a different approach. Soil installations require full excavation, base construction, and drainage grading. Concrete and paved surfaces require cleaning, assessment of existing drainage, and, typically, a shock pad or foam underlay before the turf goes down. On hard surfaces, installers secure the turf with adhesive rather than nails. Each substrate presents its own drainage and fixing challenges, and complex substrates benefit from professional assessment before work begins.
How long does synthetic grass installation take?
Installation time varies based on the area size, the condition of the existing surface, and the site's complexity. A small residential project of 20 to 50 square metres typically takes a professional crew 1 to 2 days. Larger residential or commercial projects covering 100 square metres or more may take two to four days. DIY installations generally take longer due to tool setup, learning time, and the physical demands of base compaction. Challenging sites with slopes, drainage issues, or irregular shapes add time to both professional and DIY projects.
Is professional installation better than a DIY approach?
Professional installation delivers more consistent results, particularly on medium to large projects, sites with drainage challenges, or areas that will receive heavy use. Professionals bring the right equipment, experience in drainage design, and the knowledge to handle complex shapes and substrates. DIY installation can work well for small, straightforward projects when the installer has relevant experience and access to the right tools. However, installation mistakes on a DIY project often cost more to fix than the initial savings justify. For commercial properties, schools, and high-traffic areas, industry professionals strongly recommend professional installation.